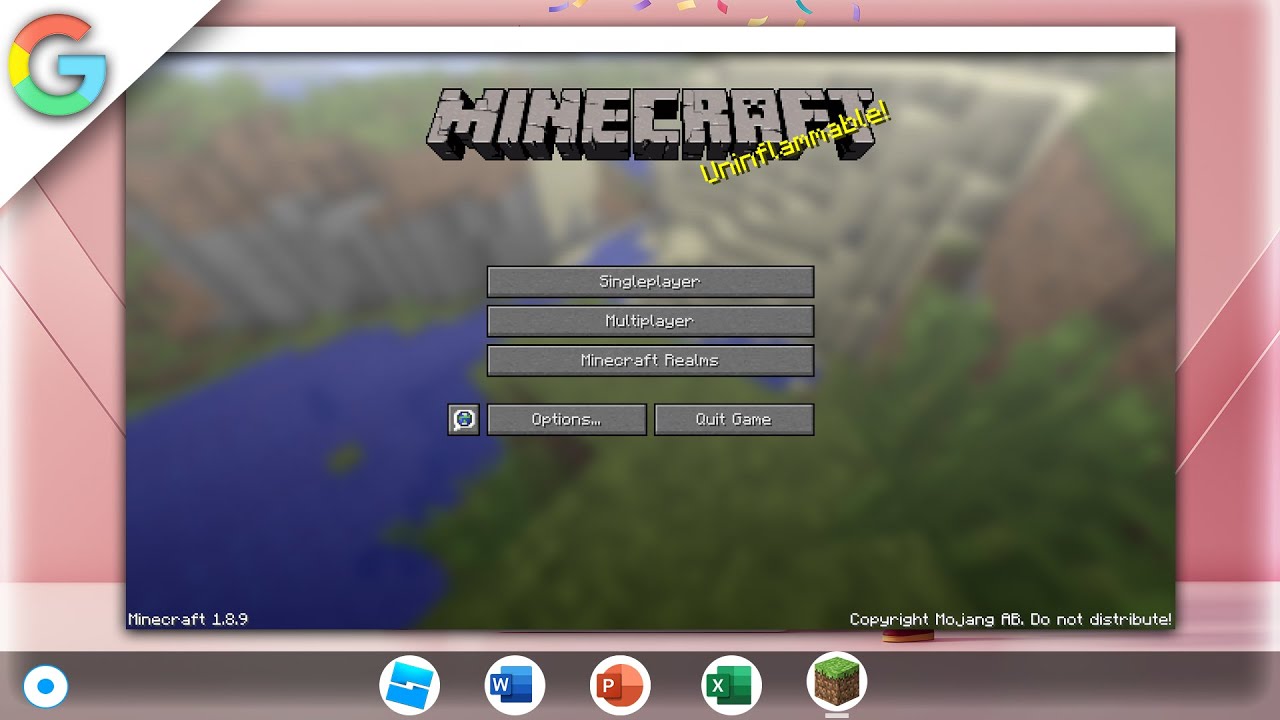
How to install Minecraft On A School Chromebook (MultiMC)
Minecraft is a hugely popular video game that can be played on a wide variety of devices, including Chromebooks. While it’s possible to download and install Minecraft directly from the Chrome Web Store, many users prefer to use a third-party launcher like MultiMC to customize their Minecraft experience. To install MultiMC on a Chromebook, you’ll need to enable the Linux environment, which can be done through the Chromebook’s settings. Once Linux is up and running, you can open the Debian Terminal and follow the steps outlined in our guide to install MultiMC and start playing Minecraft.
By using MultiMC, you can easily install and manage multiple versions of Minecraft, as well as add mods and other customizations to your game. Plus, MultiMC is completely free and open-source, so you can be sure that your Minecraft experience is safe and secure. With just a few simple steps, you can enjoy Minecraft on your Chromebook in a whole new way!
Links
Peer2profit: https://p2pr.me/165808245762d4549902196
Official Site: https://multimc.org/
Linux terminal Chrome flag
Performance Boost Chrome flags
Enable Chrome flags for performance boost:
chrome://flags/#crostini-gpu-support (Has been taken out by google)chrome://flags/#scheduler-configurationTerminal commands
-
- Update package list:
sudo apt update-
-
- Upgrade installed packages:
-
sudo apt upgrade-
-
- Install the default JDK (Java Development Kit):
-
sudo apt install default-jdk-
-
- Download the MultiMC package using wget:
-
wget -O MultiMC https://files.multimc.org/downloads/multimc_1.6-1.deb-
-
- Install the MultiMC package using dpkg:
-
sudo dpkg -i MultiMC-
-
- Check your Debian version:
-
cat /etc/debian_versionIf a code didn’t work… Kindly join my discord and create a ticket…
Discord: https://discord.gg/WBBmhZhXaP
More About Multimc
This article will guide you through the process of installing Minecraft on a Chromebook using MultiMC, a popular Minecraft launcher that offers advanced features and customization options. To install Minecraft using MultiMC, you will need access to the Linux Debian 11 Bullseye Terminal on your Chromebook. This can be done by enabling Linux in your Chromebook’s settings and then following the prompts to set up the Linux environment. Once you have Linux up and running, you can begin the process of installing Minecraft using MultiMC.
To get started, open up the Linux Terminal and enter the following commands one at a time: “sudo apt update”, “sudo apt upgrade”, and “sudo apt install default-jdk”. These commands will update and upgrade your system, as well as install the Java Development Kit, which is required for Minecraft to run on your Chromebook.
Next, download the MultiMC launcher from the official website by opening your Chrome browser and navigating to https://multimc.org/. Once downloaded, open the Linux Terminal and navigate to the Downloads folder using the “cd” command. Then, install MultiMC by running the command “sudo dpkg -i MultiMC_*.deb”.
Once MultiMC is installed, launch the application and follow the prompts to create a new instance for Minecraft. In the instance settings, select the Minecraft version you want to use, as well as any additional mods or customizations you want to include. Once you have finished configuring your instance, click “Launch” to start playing Minecraft on your Chromebook using MultiMC.
Overall, the process of installing Minecraft using MultiMC on a Chromebook is similar to that of using ATLauncher. By following these steps, you can enjoy playing Minecraft with advanced features and customizations on your Chromebook.


